The other night there were more games being hosted here at my home. One of the games that night, which lasted until sunrise, was a 3000pt battle between my UCM forces and a friend mine's just put together PHR. Now I knew from a previous battle, that these PHR were serious business. His walkers just by far are more resilient to a straight head on battle. His walkers outnumbered my own anti-vehicle firepower, so it was going to be interesting.

The PHR are without a doubt extremely tough, can take extreme punishment and continue fighting. What they are though is slow. While on paper they do not appear to be much slower than my UCM and our ranges similar, the difference between the two can really make a difference on the tabletop.
What I learned about the PHR
Do not deploy them behind buildings that they cannot get out into the firing lanes in a single movement. 2-3 inches of movement can leave you stuck behind a building not able to bring your firepower to bear. Unlike the Scourge who need to deploy right away, do not be afraid to fly in closer to deploy your forces. They need to be somewhere they can fight right away. Of course this leaves you vulnerable, and a fast player with air support and AA needs to try and take advantage of this as quickly as possible.
PHR type 2 walkers are nuts. When deployed and fighting in an area in force, there is nothing to stop these beasts from literally ripping a apart all your tanks.

The Game.
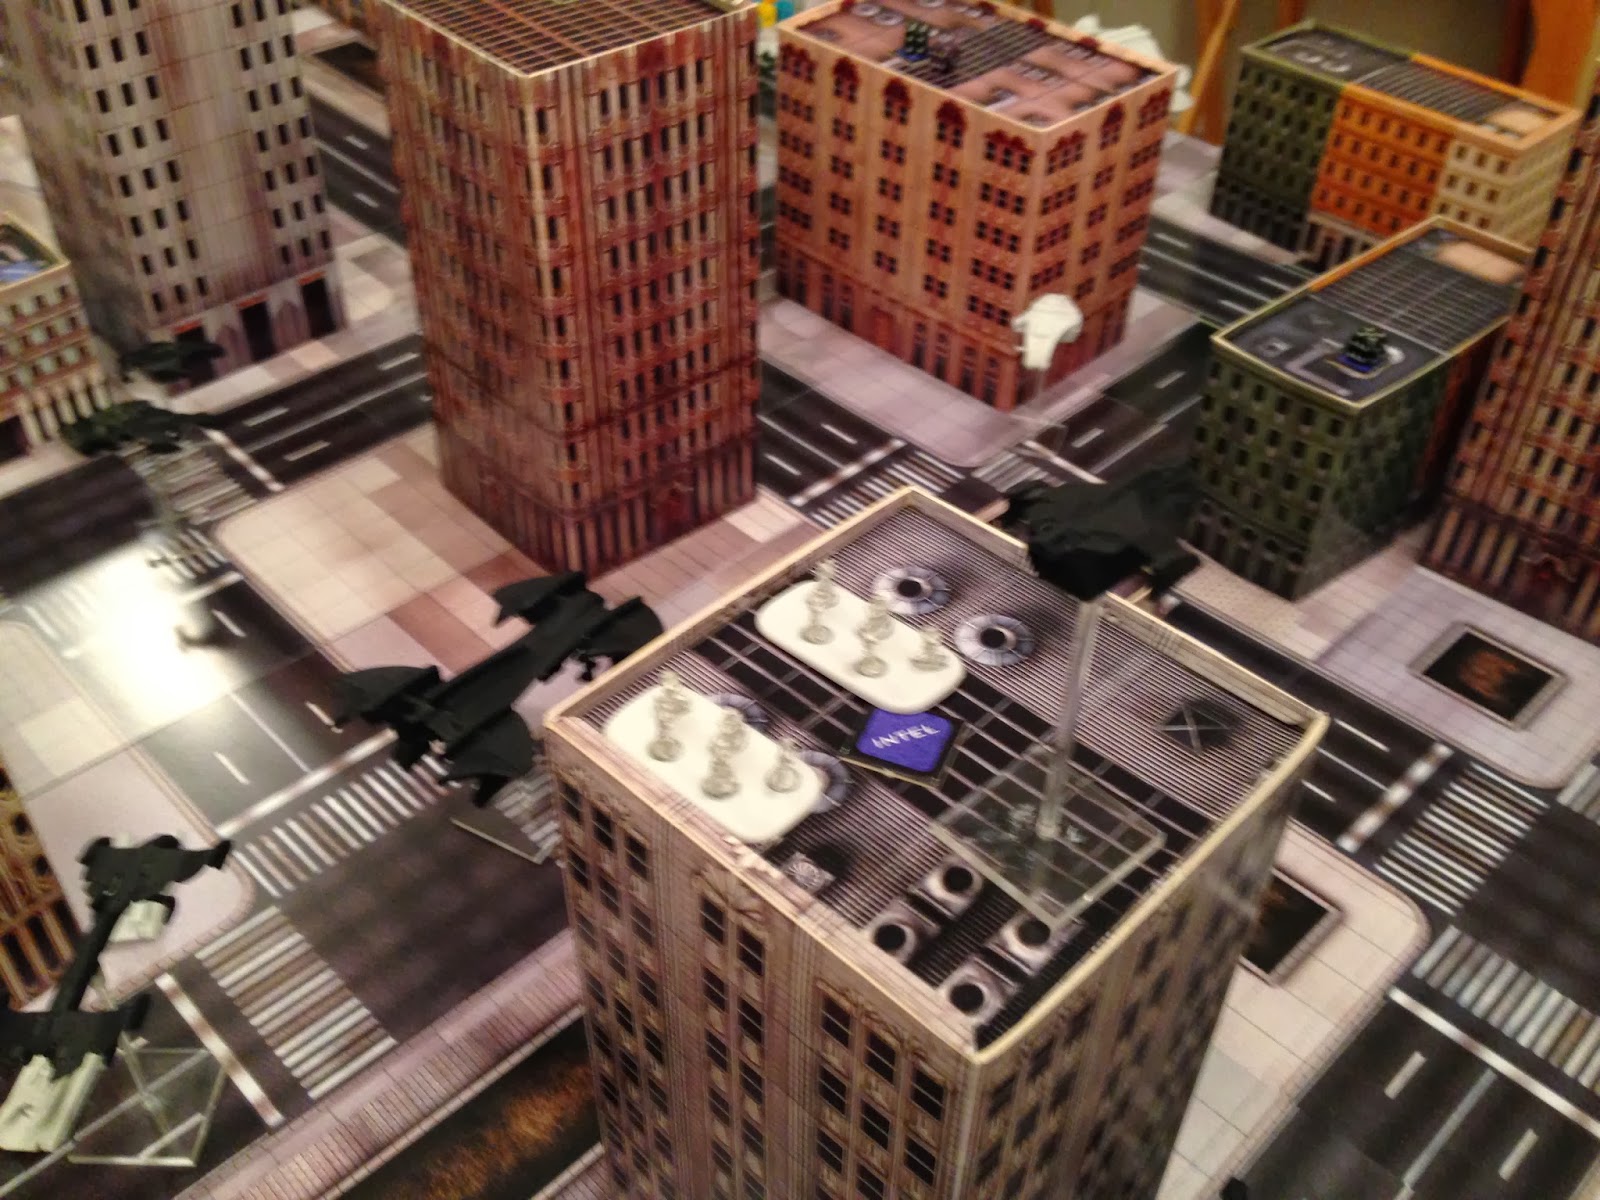
First off, the game was 20 buildings with intel chips on them. You have to get infantry into them, recon them, get your victory point, and move on. Each intel is a dice roll. a roll of a 1 is a trap and something explodes, damaging the building and taking out infantry searching the building, 2-5 is a victory point, 6 is an objective, worth an extra victory point if you can extract it.
The first round both forces deployed and moved onto the field. As infantry were quickly moving into buildings, I had a snipers and special forces moving quickly forward to get into forward buildings. Snipers taking up positions in large towers near the center of the board, and special force Praetorians doing roof insertions into buildings along the flanks. My forward movement of infantry quickly was what dominated the first half of the game.
We spent the first three rounds literally ripping apart buildings that opposition forces were moving into. This resulted in 4 buildings being destroyed and some barely standing by the time the game was over. The PHR even found an objective in one, but the building was destroyed by concentrated tank and missile fire taking out all the infantry and the objective with it.

Rounds 4 and 5 changed the nature of the game dramatically, as the PHR player, quickly realized that his walkers were too far back, and redeployed them much more forward into the middle of the fray. BTW, one of the best way to take out walkers hiding behind buildings is to drop the building on them if they are too close to it.
With the PHR moving forward right into the center of a large wide open space, they quickly starting beating me down, and I was losing tanks as I was not able to really concentrate my firepower on PHR spearhead. My forces were spread out trying to move quickly, and his push was decimating anything that they were able to spot.
In the end, My push to get out quickly, meant that I was able to get more intel pieces, and the damage I was able to ruin upon his guys inside buildings (from literally ripping those buildings to shreds, and destroying them) was vital. The final score was 10-6 with a UCM victory.
The game was close, and literally rounds 4-5 went to the PHR, but by then it was just too hard to catch up. Round 6 mattered very little, although we did have a skirmish with my special forces fighting his standard troops inside a building.