

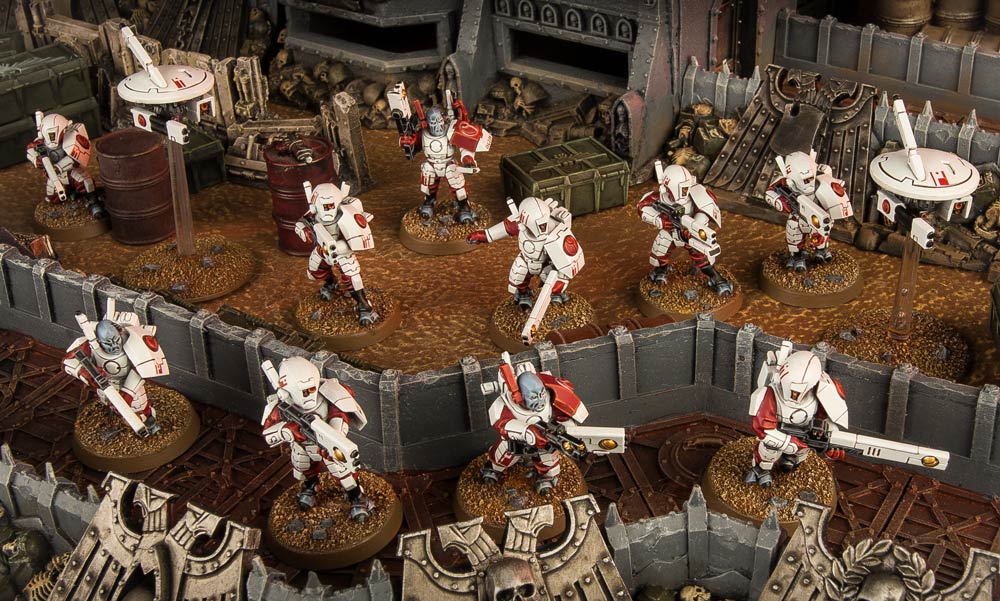
The Kill Team Starpulse is coming to pre-order this weekend for the Tau, and this is our first look at it.
via the Warhammer Community
https://www.warhammer-community.com/2018/09/27/27th-sept-warhammer-40000-kill-team-tau-empire-tacticagw-homepage-post-4/
With Advance Team Starpulse available to pre-order this weekend, Dave Sanders channels the wisdom of Commander Puretide to bring you this tactica on the T’au Empire in games of Kill Team. Over to Dave…
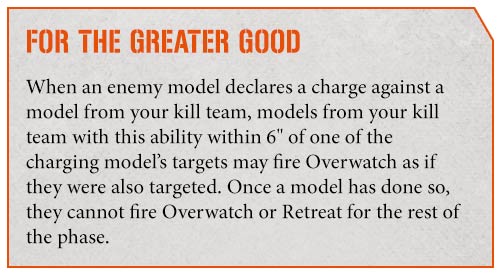
Dave: The T’au Empire are easily one of the deadliest Factions in the game in terms of both range and firepower. Put simply, if you keep the enemy at a distance, you will have a clear advantage over almost any other kill team. Of course, your opponent will no doubt be looking to tip the balance in their favour by engaging your models in close combat. However, the T’au Empire has a nasty ability that makes charging their warriors a risky business.
Despite the partial safety net this ability offers, your best trick is to master the art of the rolling defence – try not to remain stationary, and always be prepared to relocate should the enemy draw too close. Another great option is to use markerlights to target your opponent’s biggest threat in each battle round and then shoot everything at that target until it’s dead:
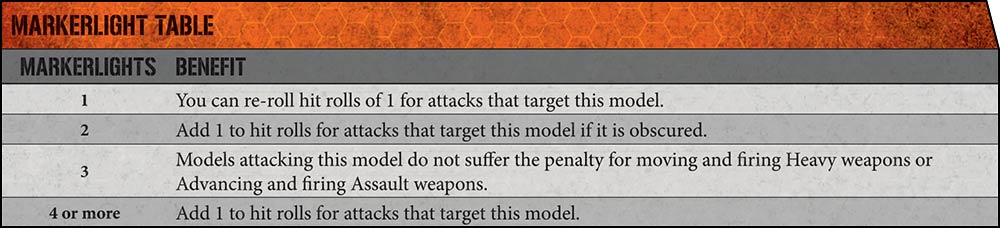
A quick word of advice, though: it can be easy to focus too much on getting the magic number of four markerlights onto a target, so don’t forget to reserve enough actual firepower to make use of them!
Let’s take a look at the models available to a T’au Empire kill team:

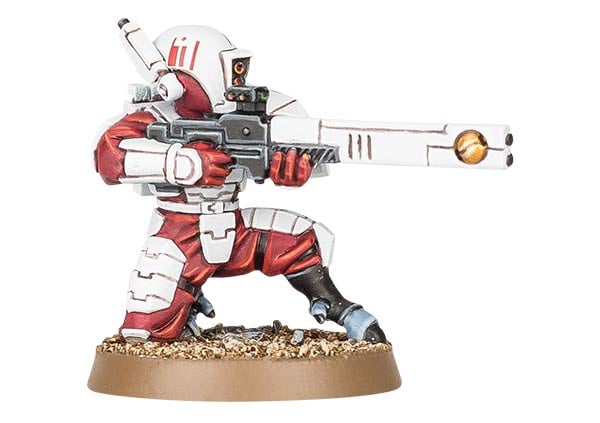
Fire Warriors are fantastic choices to bulk out your kill team. At a mere 8 points apiece, they combine a decent Save of 4+ with a choice of pulse weapon – both of which are a punishing Strength 5. A pulse rifle’s 30″ range means it can target almost anything on the battlefield, line of sight permitting. This range makes them excellent Sniper or Comms specialists when accompanied by the deadly firepower of a DS8 Tactical Support Turret. Alternatively, fight a more mobile battle by giving your Fire Warriors pulse carbines for their Assault 2 profile, enabling you to Advance and still fire up to 18″ and making your kill team much harder to pin down in combat.

Though not as heavily armoured as their Fire Warrior kin, Pathfindersmore than make up for it with their 7″ Move characteristic and cheaper cost. When combined with their pulse carbines, Pathfinders can easily outmanoeuvre the enemy with their freedom to Advance and shoot, and they each come with a markerlight as standard! A Pathfinder Gunner with an ion rifle or rail rifle is a great addition to any kill team – make them a Demolitions specialist and use them to deliver the killing blow to a target lit up by markerlights.


Even though the kill teams of the T’au Empire don’t have a dedicated melee fighter option to act as objective clearers or roving defensive screens, Fire Warrior Breachers perform a similar function – just at point-blank range rather than close combat. Their Assault 2 pulse blasters are incredibly effective in this role, but remember that you have to get much closer than you think or suffer the -1 to hit penalty for firing at long range. Don’t be afraid to Advance to get as close as possible, as the penalty for firing after doing so is the same as being at long range, but you may also be able to use a more powerful profile:


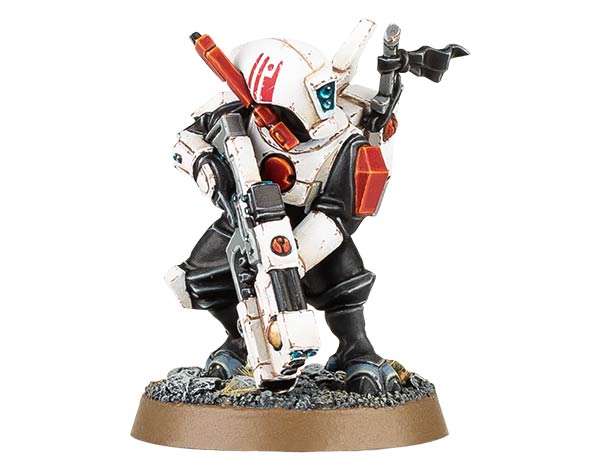
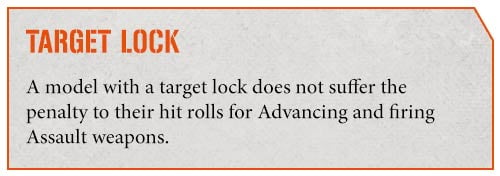
Having the Fly keyword in Kill Team is a massive advantage. Not only can you extricate yourself from danger with ease, gliding effortlessly over intervening terrain, but it also makes it easier to hunt down your prey. Their burst cannons are Assault weapons, letting them to Advance and fire a volley of four Strength 5 shots. To this end, make sure you take a target lock (see below) if you have a spare point to do so. Combined with their 8″ Move and ability to Fly, even a single XV25 Stealth Battlesuit is a tremendous threat anywhere on the battlefield. Swapping a burst cannon for a fusion blaster also makes a great alternative to a Pathfinder Gunner for delivering a finishing shot to a markerlit target. All this, and they also come with 2 Wounds and a 3+ Save!


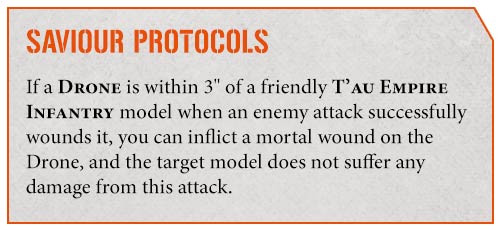
Drones have a variety of uses, according to their type, but share a few common principles. The main things to remember are that all drones can Fly, have an 8″ Move, and you can use them to protect friendly models (see below). Given that the survival of your Leader and other specialists is often integral to a mission’s victory conditions, don’t be afraid to sacrifice them if needed (for the Greater Good, of course).
Here are a few other sneaky tricks you can use with your Drones:
- Use the MB3 Recon Drone’s ability to rob a target model of its protection for being obscured, then hit them with a few markerlights followed by a rail rifle or fusion blaster to set up a kill that is all but guaranteed.
- The abilities of the MV33 Grav-inhibitor Drone, MV36 Guardian Drone and MV31 Pulse Accelerator Drone affect all friendly T’au Empire models within range, regardless of line of sight, so form a firing line nearby to benefit from their effects whilst keeping the Drones themselves hidden and safe from harm!


The Kill Team Core Manual and Advance Team Starpulse Starter Set both include a number of useful T’au Empire Tactics. Here are three of my favourites:
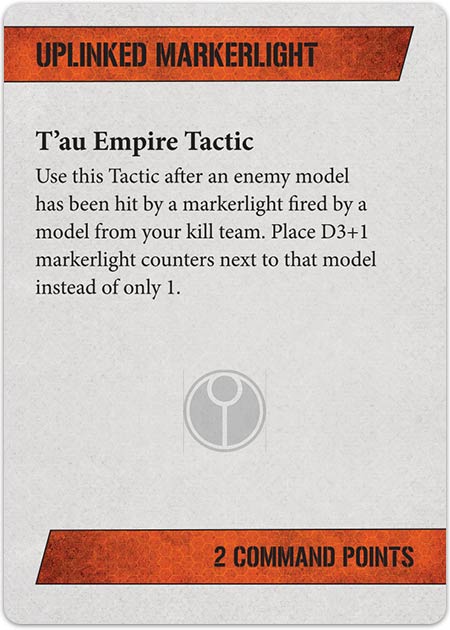
This Tactic enables you to field only one or two markerlights in your kill team and still generate a lot of markerlight counters on one target each turn (which you can then shoot to pieces). Some players even use this Tactic every battle round!
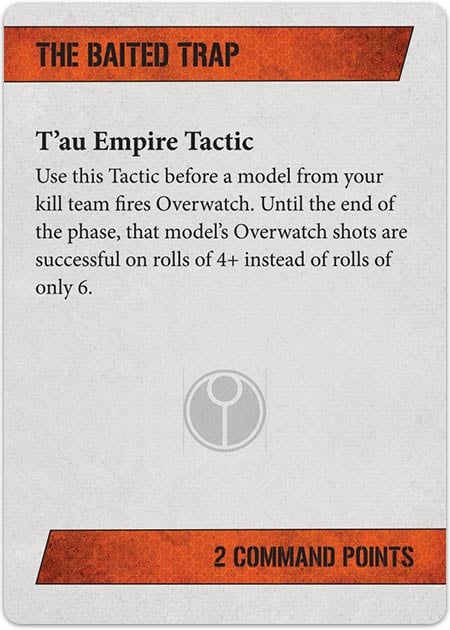
Use an XV25 Stealth Battlesuit as a lure, then gun down the foe when they charge!
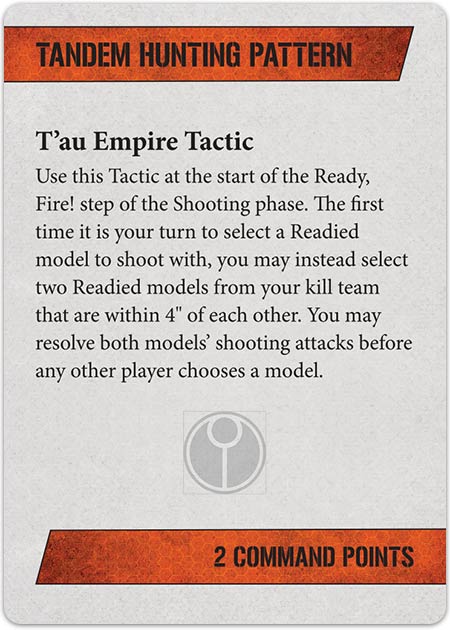
Fire a markerlight then immediately follow it up with a finishing shot.

Here are three varied T’au Empire kill teams that I would recommend trying:

4 Fire Warriors (one with markerlight, one with pulse carbine), 3 Fire Warrior Breachers (one with markerlight), 3 Pathfinder Gunners (two with ion rifles and one with a rail rifle), 1 DS8 Tactical Support Turret (with missile pod) – combining weight of fire with numbers and a deadly variety of weaponry.

3 XV25 Stealth Battlesuits (one with a fusion blaster), 3 Pathfinder Gunners (two with ion rifles and one with a rail rifle) – this kill team has some utterly brutal damage output, making each hit all the more likely to take their target out of action.

5 XV25 Stealth Battlesuits – no spare points for a fusion blaster or target lock, but you’ll be outmanoeuvring your opponents with ease whilst firing up to 20 Strength 5 shots in each battle round!
