

Its been a week or so and I've been a printing mad man through the entirety of the week. So much that I finally felt comfortable enough to start printing something larger and more detailed. First though before we get going lets talk about the printer, how it came, what it took to get started.
What I think about 3D Printing
While most people are saying its like a hobby in itself, I am going to disagree with that. After doing this for just a week I have to say that I can't see any other direction now for our Tabletop Wargaming hobby to go but the way of the 3D Printer. I hear now of independent shops opening up for 3D Printing services, Patreons accounts are just simply amazing at getting miniature files for cheap, and while there will still be miniature companies making their own, I foresee a time in the near future where many companies are offering both stl files for 3D printing for their miniatures.
You do not need to be printing all the time, nor does the hobby take so much additional time that its not worth looking into.

By no means am I an expert. In fact I am quite the opposite and knew so little about 3D printing that it was the biggest hurdle for me to jump in. It was a like a foreign language.
I am here to tell you though that it took a single weekend for me to get a grasp on what the 3D printing is all about. Its well worth the time and effort.
Ordering Your 3D Printer
First off there are two different types of 3D printers. Plastic and Resin. Plastic works great but overall if you are like me and want to print miniatures your looking at resin.
That said I looked at the company's websites to order but ended up ordering through Amazon just because it was easier, the prices were the same (or close enough). Amazon was also much faster at getting my machine to me.
I paid $389.99 for an Anycubic S Printer. The other printer I was comparing to and considered was an Elegoo printer in the same price range.
Can you get less expensive?
yes. both companies make a 3D printer for less than $200
I choose the Anycubic because I found better tutorials and people I know in the hobby suggesting Anycubic. With knowing very little to nothing Anycubic seemed like the logical choice for me.
Unboxing and Setting Up
The boxes arrived extremely well packaged. Opening it up though I had no idea what any of it was really for.


The Anycubic Photon S is rather simple to set up.
Take out the packing foam (there is a lot of it) and wrapping materials and find your build plate.
Plug in the Power and turn it on.
Time to Level it
Leveling is supposedly one of the top reasons why prints fail. So I watched a video or two on it but it basically comes down to this.
Leveling is getting your build platform level with the LCD screen. This is important and the most complicated part of setting up. You will need a piece of paper and the supplied tools with your printer.
Loosen the screw shown in the assembly instructions so that the build plate can wobble.


Make certain the build platform is flat and not tilted in any direction by pulling on the paper and tightening the screw. Once you have it, using the touchscreen click on the "Z=0" and that will be the starting point for each of your prints.
Here is a very detailed and easy look at leveling your build plate.
Video step by step I found.
Now that youve done that take the resin vat and make certain the film covering the bottom is tight. If its not tighten the screws at the bottom of it to tighten. Mine was tight right out of the box, so there was no need to do anything else except to get ready to print!
So leveling and setting up (and searching for videos) took me all in all about an hour. So lets get to my first print!!!!!
The First Print
A test print comes with on a thumbdrive ready for you but I instead wanted to go straight for a miniature. I already joined up on several Patreons (Heroes Infinite, Titan Forge, Anvil Industry's Digital Forge).
I highly suggest that you look for stl file with the supports already added for your first print. All three of those Patreons do supply both supported and unsupported miniatures for printing.
What are Supports?
Supports build up off of the Build Plate for your miniature so that the printer has something to print. Think of a soldier being printed with a rifle in a firing position. If the miniature is being printed from the feet up layer by layer then there is nothing to print below the rile and any points lower than the arms would have no supports and thus would be hanging in space. Supports also help parts that may warp from being thin.
If supports are kind of a mystery to you at this point, just do your first test print with a supported miniature and you will see the logic behind it.
So I choose a Titan Forge miniature from their chaos dwarves (July release) as my first print to see how it goes.

I figured the Dwarven Sorcerer was a good solid single miniature to print.
The resin that comes with the box is Anycubic's Green 500ml resin. Later we will talk about just how far your resin goes and what happened to my second printer bottle.
You need to install the Photon Workshop program that is on the thumb drive and comes with the machine. When you open it the screen will look like something this.
Note that I just took this image. I used the standard default configuration for my first print. Stick to those the first time printing. They work for something by itself and with the supplied resin.

Later on I added some additional bottom layers and exposure time for those bottom layers, and increased my normal exposure time as well. Below are the settings I am print with now. I am currently printing the Summer Fairy Queen from Heroes Infinite in the pic near the start of the article

The reasons why were miniatures not sticking to the build plate. Not to mention that you can add quite a few miniatures to print at the same time. (I was printing 6 Dwarven warriors at the same time.) Until you do a print and start messing around with your settings, use either the standard settings or the changes I made above which I am using with the Grey ml Anycubic Resin.
Now this program is relatively easy to use. I have not used another program yet, so far this works just fine. After watching a brief and horrible video on how to use the program I easily got the supported miniature ready to go.
You will need to slice the file (its hitting the highlighted button on the left hand side both pics above). This will automatically prepare your file for printing.
Save the new file to thumb drive and put the drive into the USB port on the right hand side of your printer! Using the display, select print and find your file.
Insert your Resin Vat and fill it up to the beveled line in the Vat. Do not overfill.
Filling up to the bevel is all you need to do. You are now ready to close the machine and push the "print" button on the display.

While printing...........


It looked successful but look at the supports. I washed it in isopropyl alcohol and then trimmed off the supports with my new little clippers.

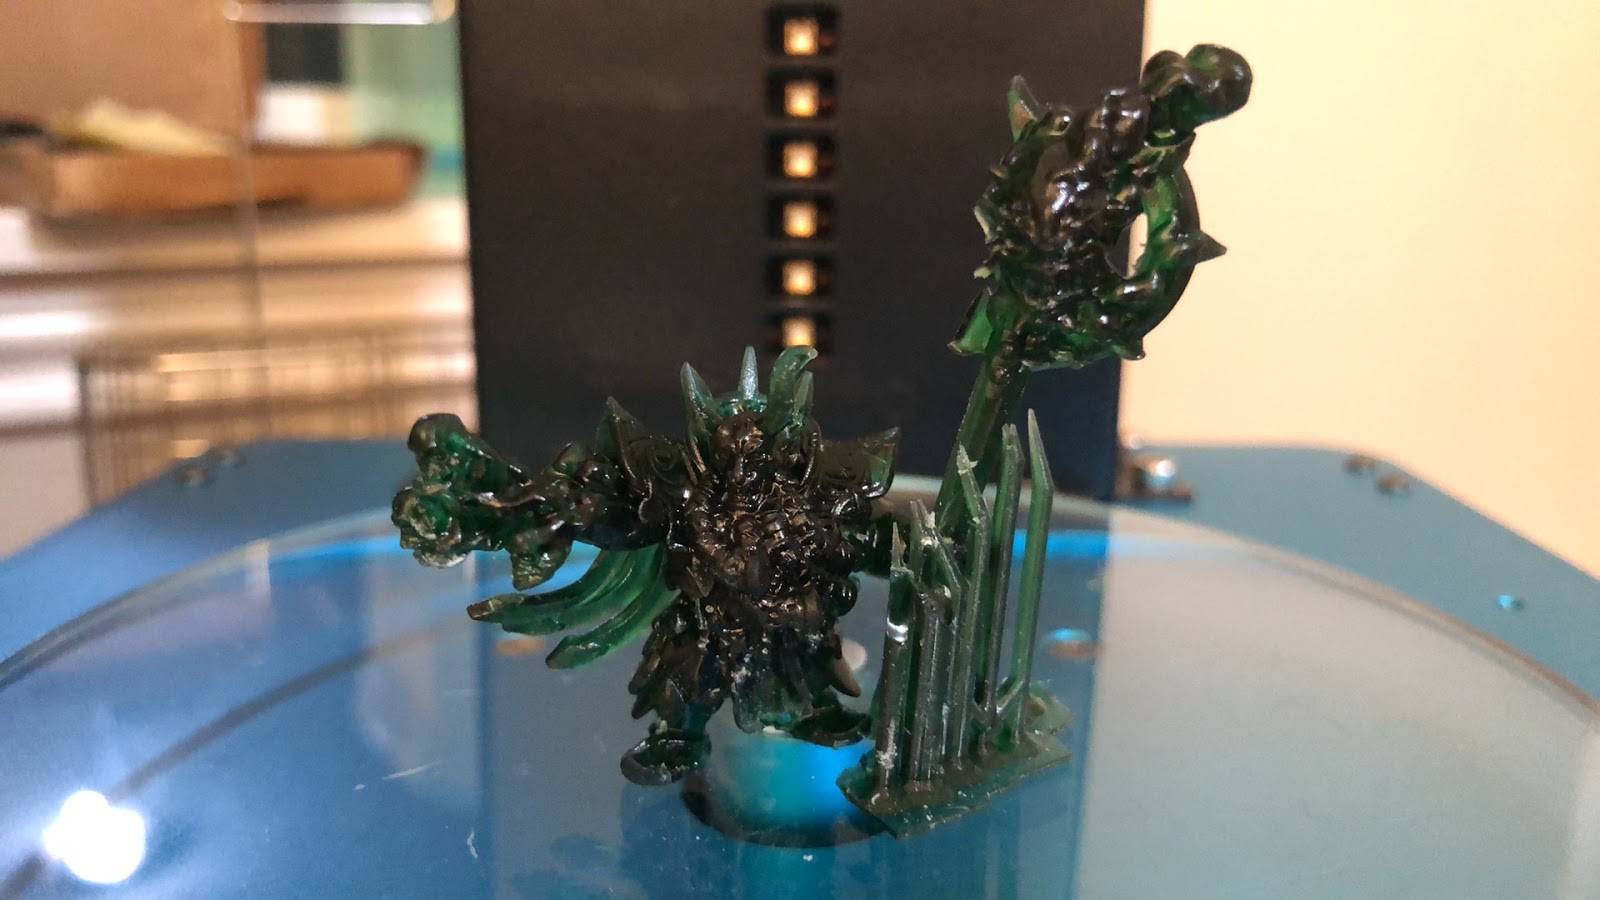
Time to see what it looks like with a little primer. The detail turned out amazing!


We will do another article as soon as its ready.... next we will look at additional settings, more successful prints, where my various testing resulted in success and failures and just what happened!
I was so happy with the first print! He gets a base in the next article.
