

Harlequins are up next for a preview for Apocalypse.
via the Warhammer Community
https://www.warhammer-community.com/2019/06/28/apocalypse-faction-focus-harlequinsgw-homepage-post-4/
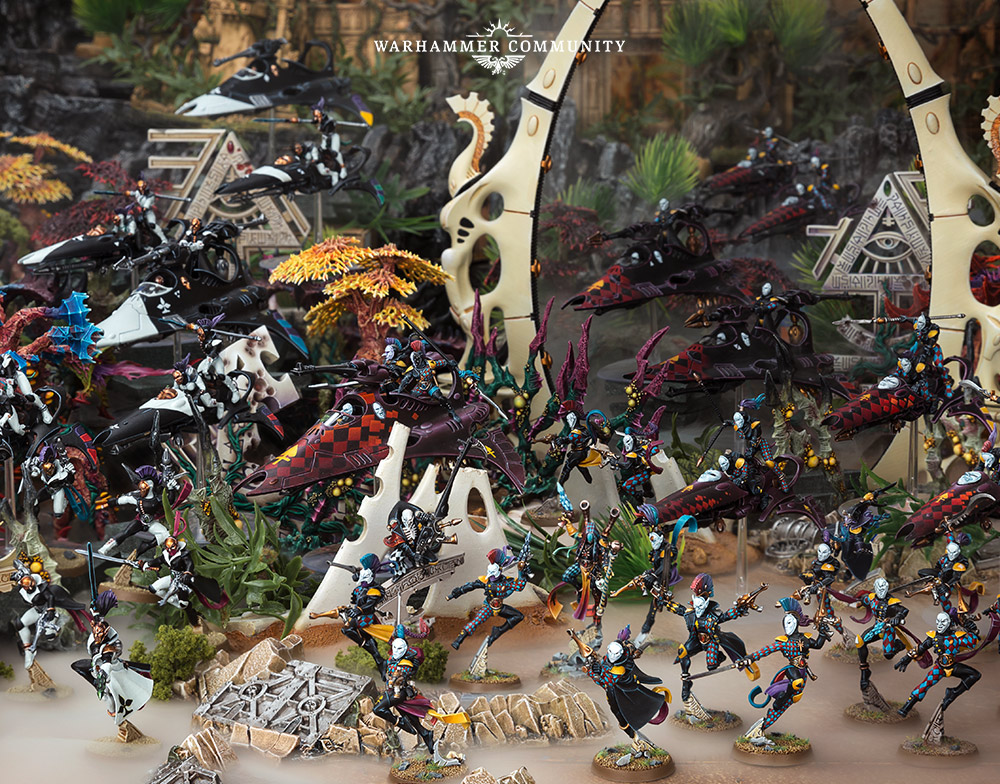
Of all the Aeldari races, the Harlequins are the most enigmatic. They attack with bewildering speed and agility, often slaying their prey before it’s even aware of the danger. Today, we’re looking at how these kaleidoscopic warriors engage in apocalyptic battles…
Play Style
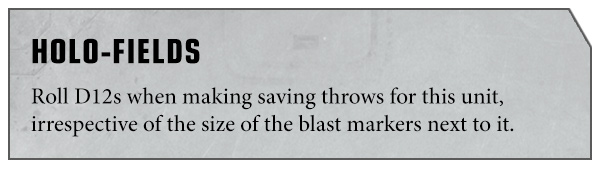
Harlequins exemplify the principle of a ‘glass hammer’ – they can utilise their advanced weaponry and impossibly athletic martial skills to rip through even the most well-armoured targets with contemptuous ease, yet they wear no armour and rely entirely on their holo-fields to disrupt the aim of their enemies. Fortunately, one of the benefits of holo-fields is that they roll a D12 against all blast markers, which renders every second hit (which upgrades a small blast maker to a large one) redundant – and yes, all the Harlequins units are equipped with holo-fields!
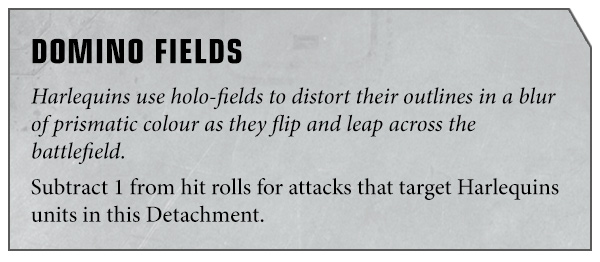
If you want to improve your Harlequins’ odds of survival even further, be sure to keep all your units in all-Harlequins Detachments to get the benefit of Domino Fields.
With the basics covered, let’s look at our top three picks for Harlequins units and how to get the most from them on the Apocalypse battlefield…
Top Units
Troupe Master
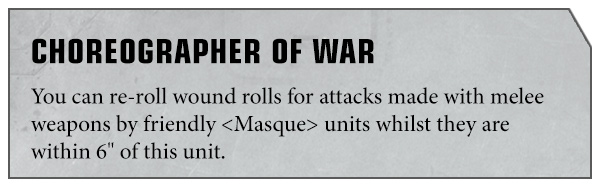
The heart of any melee-focused Harlequins Detachment, the presence of a Troupe Master turns what are already incredibly powerful units into absolute killing machines! Their Choreographer of War ability is nothing short of incredible, so a Troupe Master should be supporting any attack you make on the enemy’s lines to ensure you inflict maximum damage.
Solitaire
As the name suggests, a Solitaire works alone, though they certainly don’t need any help – just look at the profile of their Solitaire weapons!

When you consider that a Solitaire also comes with 4 Attacks as standard, they’re the perfect spearhead for any assault. And if you support your Solitaire with a Troupe Master, you can count on it getting a good three or four hits in a turn!
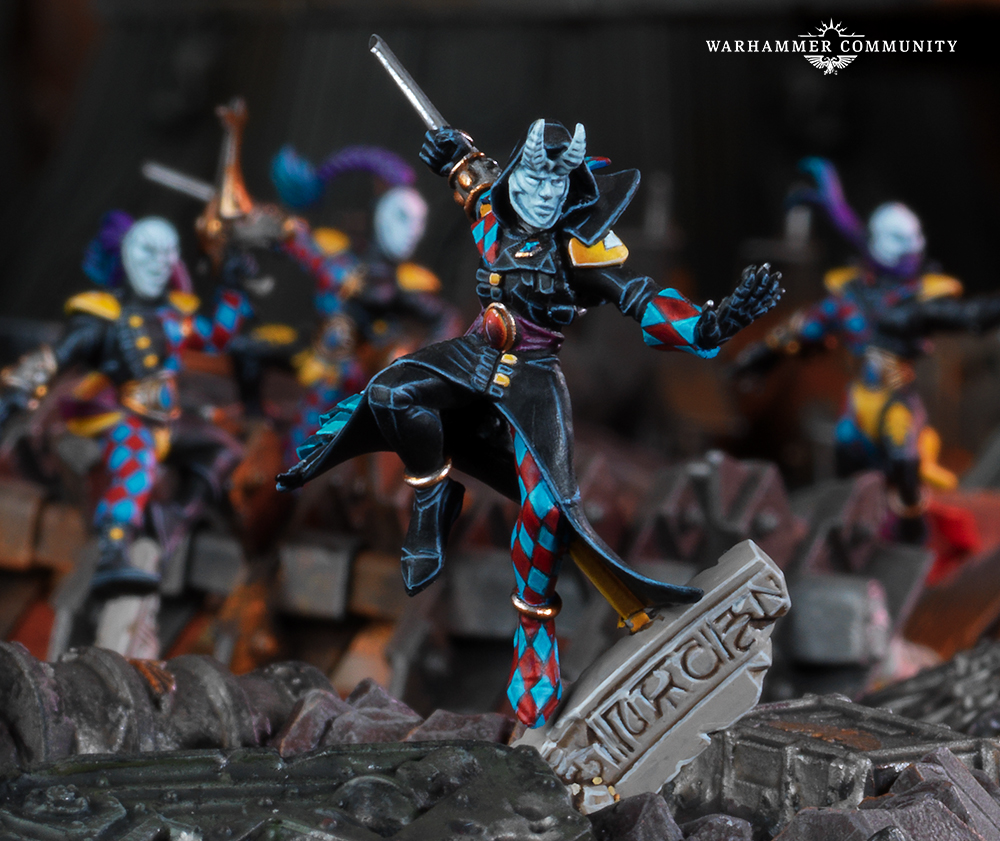
Troupe

The majority of Harlequins belong to a Troupe, meaning that these packs of death-dealing acrobats will likely form the main bulk of your army. This is far from a burden – in fact, it’s a blessing from Cegorach himself, as Troupes are utterly devastating against both infantry and vehicles. Their weaponry is lethally effective, especially when you consider that a Troupe of 12 models has 3 Attacks…
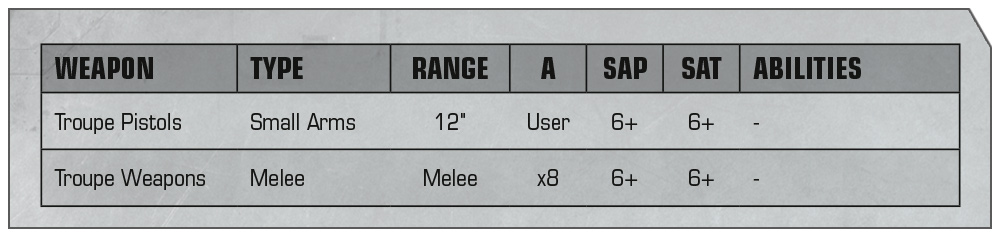
…and with their troupe weapons, that’s a total of 24 attacks in melee. Wounding on a 6+ against any target. Re-rolling all failures if a Troupe Master is nearby. Ouch!
Top Command Assets
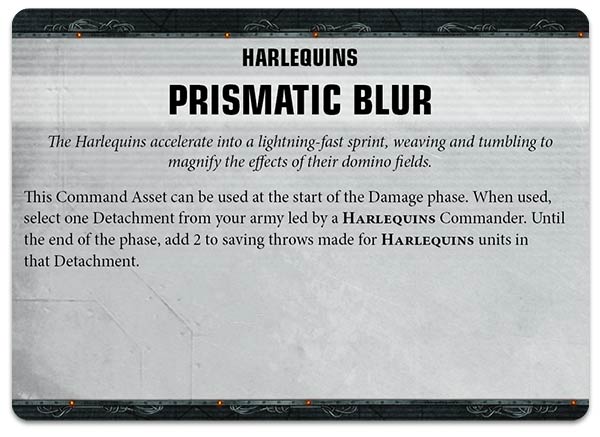
If you’re about to launch an assault into the heart of the enemy lines (which you totally want to do), or are expecting one of your Harlequins Detachments to be on the receiving end of lots of incoming attacks, consider using Prismatic Blur. Harlequins units all have a Save characteristic of 6+ or better and always take saving throws on a D12 thanks to their Holo-fields, so adding 2 to these rolls for an entire Detachment is nothing short of priceless.
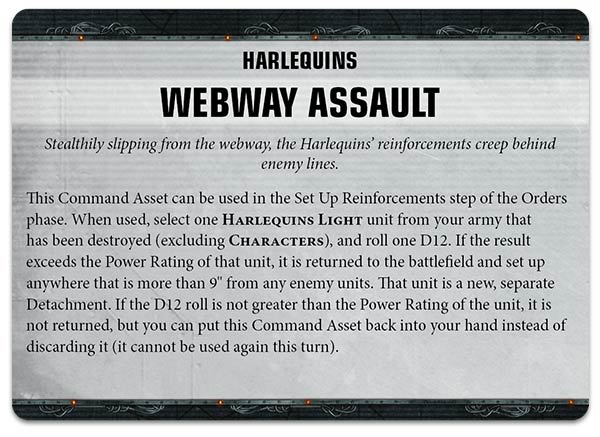
Reinforcements are handy for every Faction, but especially when you’re an elite army that is likely to be heavily outnumbered. The Webway Assault Command Asset will help mitigate some casualties by returning a destroyed unit to the battlefield. Even though an element of luck is required to see your unit of choice rejoin the action, there’s a built-in safety net to ensure that not all is lost if you roll poorly.
The Harlequins may only be few, but they can easily defeat many times their own number with their resistance to taking damage, high Attacks characteristics and universally deadly weaponry. If you’re looking to unleash the Blades of Cegorach in Warhammer 40,000: Apocalypse, make sure you stock up on your Harlequin Troupes – they won’t disappoint!
Apocalypse is available to pre-order from June 29th
