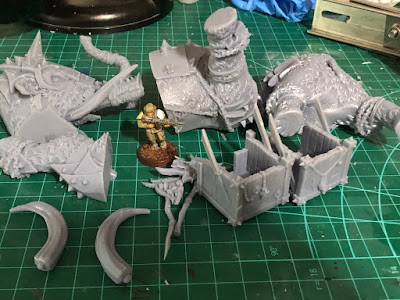
Its been a few days since I posted up on my progress for this massive War Elephant to show the progress I am making. This is a very cool miniature and quite the expensive one to purchase (it is up now on the Raging Heroes website to order). However I got it as part of a 6 month Patreon award.... awesomeness which is $10/month along with all 6 month releases that came with it. So some good value there.
The price to order online without have to print it.
$182.41 USD $243.23 USD
One thing I noticed when you purchase this online is that it does not come with a base. It does have a fully supported base in the files for printing!
If you missed Part 1
On to Printing!
There was of course a big hang up on the first print! No matter what I did the supports were printing as part of the armor and fusing (a big no no) as they become embedded into other parts of the miniature. Long story short part 3 of the stl files (the big elephant butt), I had to do a full set of my own supports, and the first set of them failed half way through when I was checking on the print. So 1.5 failed prints in, I finally got it right!
Lets take a look at what I mean by supports becoming embedded. The supports fused together and on other sections were embedded into the miniature to the point of damage being done to remove them. You cant see it in the photo but on the other side of the leg, the fused supports are actually embedded into the armored plates.
 |
| Fused Supports. |
So what I ended up doing was reducing my exposure and doing my own supports on Chitubox to make certain those supports stayed away from the armor plating. It was a pain. There is just quite a bit of detail on the chains and legs of the miniature that I had to spend a little time doing it.
Other prints after getting the butt (hindquarters) of the War Mammoth printed came out considerably better. Need to raise my exposure up just a little bit.
Doing your own supports takes a little practice but the just of it is, angle the miniature upwards and at a 30 degree angle to minimize the number of supports you need, as well as making certain you have any overhangs and the lowest portions of the miniature to the build plate well supported. This often means the underside of the miniature or a part that will not be seen (like pieces that glued together) make a great side to apply to the build plate.
 |
| A successful print! |
 |
| Just out of the printer! Wet with Resin |
So no failed prints since the first 1.5, and check out the detail on the head.
 |
| Wash and Cure Machine |
 |
| Nice Looking Head |
 |
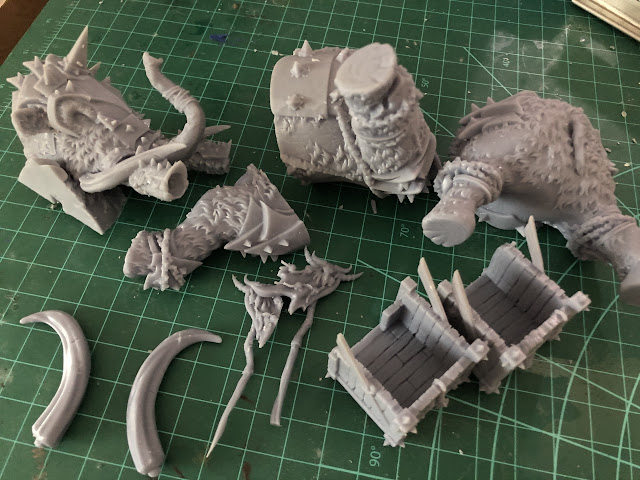
| All my parts. The Elephant is done printing- just the platform and base is left. |


